[PA - V3] How to Assign Bell Tones
This guide is for the Public Address system type - [PA - V3]. Don't know your PA system type? Search for "What version is my PA?" on our support desk!
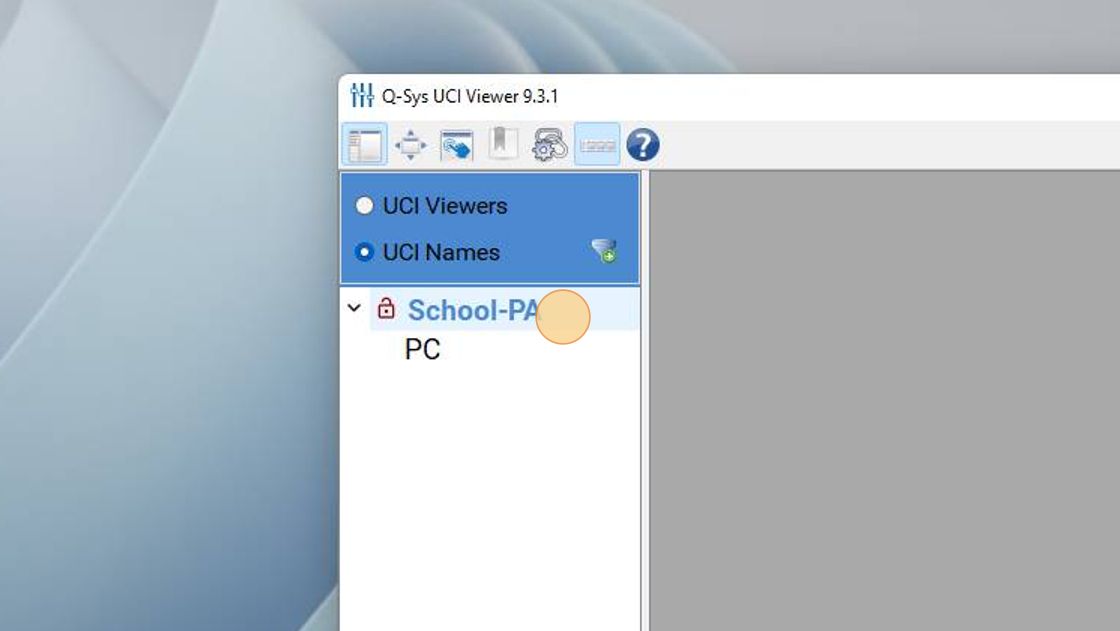
1. On your computer that is connected to the same network as the Public Address system, Open your Q-SYS UCI Viewer Application. For reference, UCI refers to "User Control Interface"
2. You should see your School's system appear in the UCI Names below
If you don't see your schools name, or a PC option, you may not be on the same network as your PA system, or your system may be offline. Ensure you're on a computer that is hard-wired to your schools Administration network
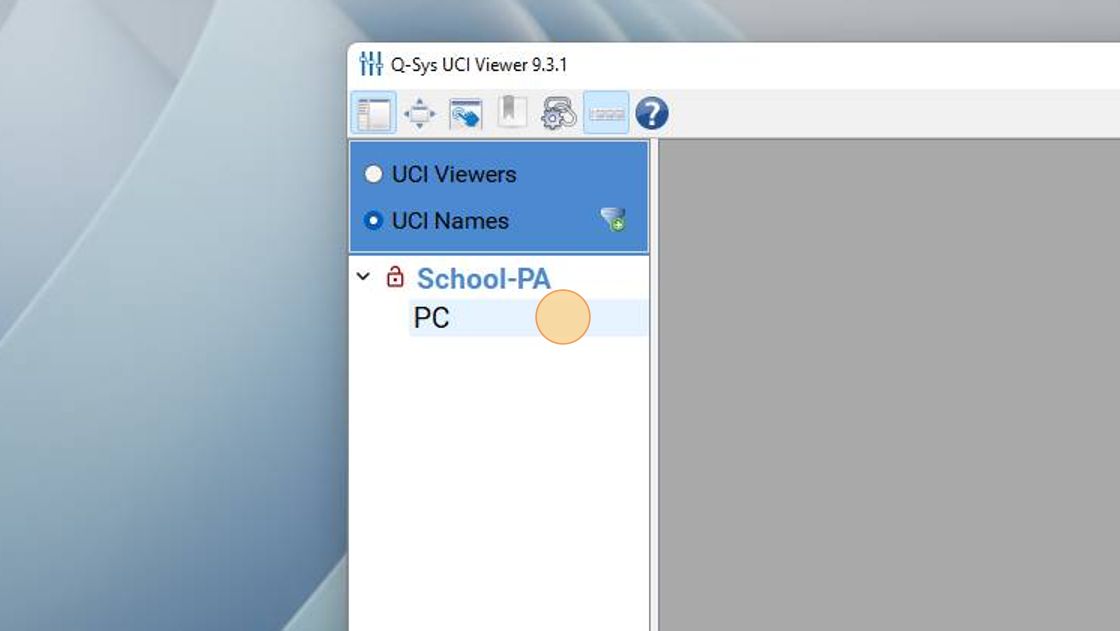
3. Click "PC"
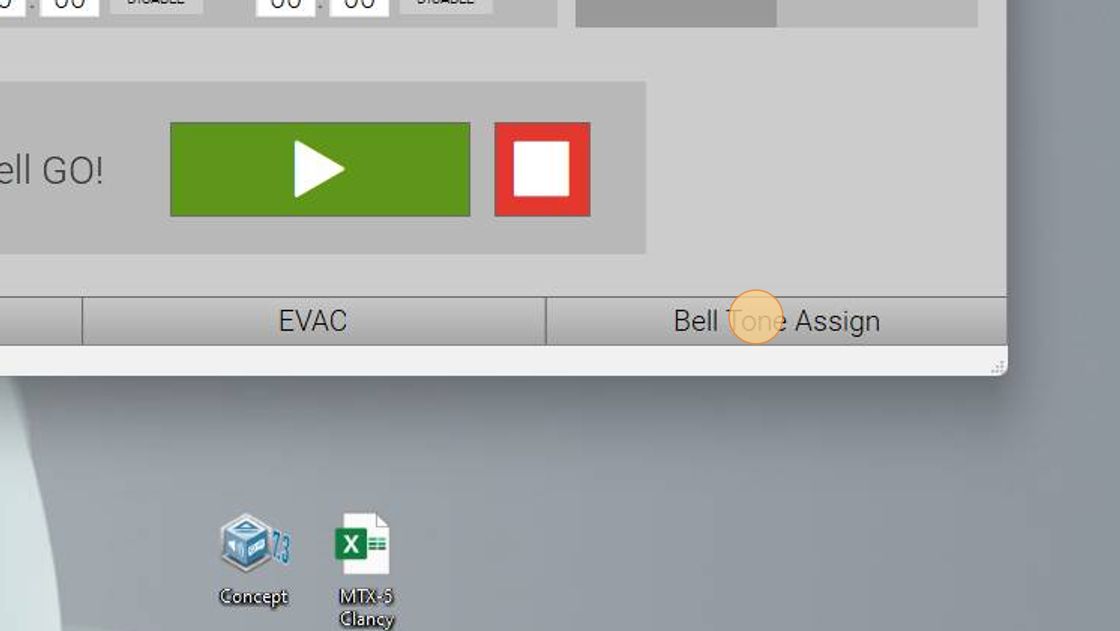
4. Navigate to the "Bell Tone Assign" Page
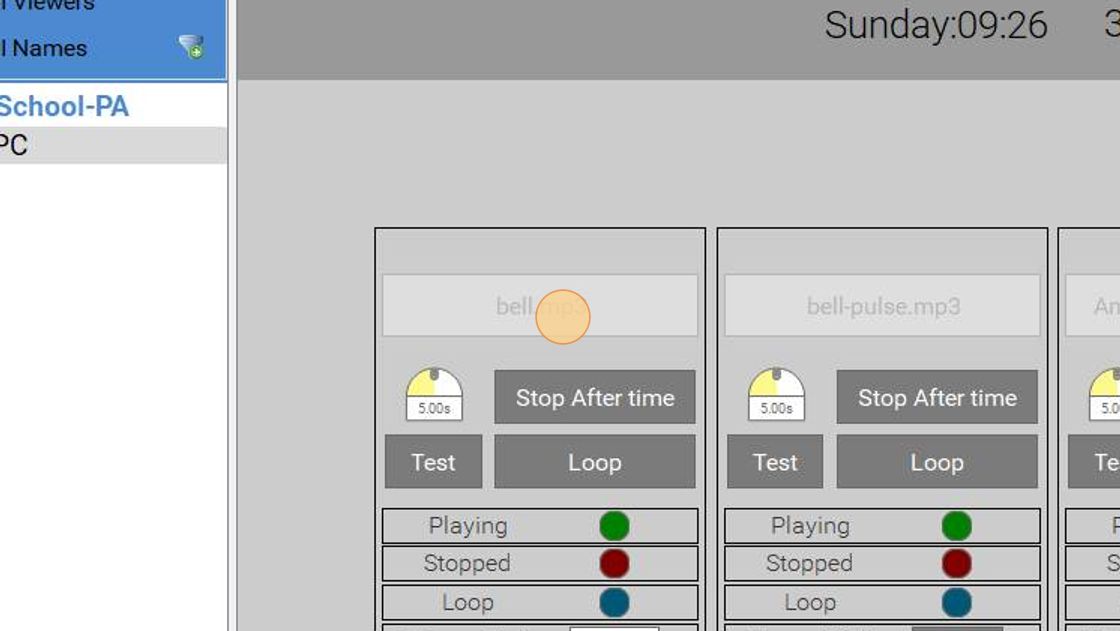
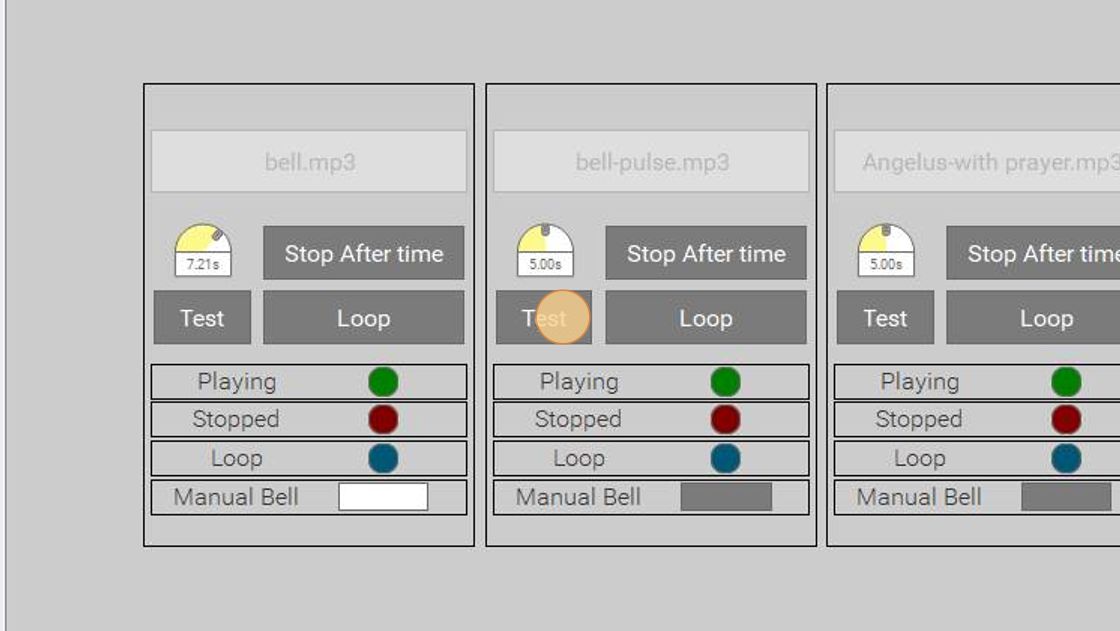
5. In this screen, you will be able to see your 5x available bell tone assignments, each of which is assignable to specific bell times. To select your bell tone, click on the current file, and select from the drop down, which bell you would like to assign
To upload additional bell tones, not currently on your system, visit our guide "[PA - V3] How to upload custom audio files & bell tones" Note: In this version of the bell program, there is no ability to adjust the volume of individual bell tones. As such you must ensure you make any adjustments to volume of your .mp3 files before you upload them to the system
6. By default, a bell file will play to its full length. If you have a 10s bell file, it will play for 10s, or if you have a 3 minute piece of music, it will play for 3 minutes. To stop the bell sound after a specific time, select your desired time using the time slider and then select "Stop after time"

7. 8. If you have a short tone that you would like to loop for a specified period, press the Loop button, and choose the length of time you would like it to loop for.

8. To hear how your bell tone sounds through the PA system, click test.
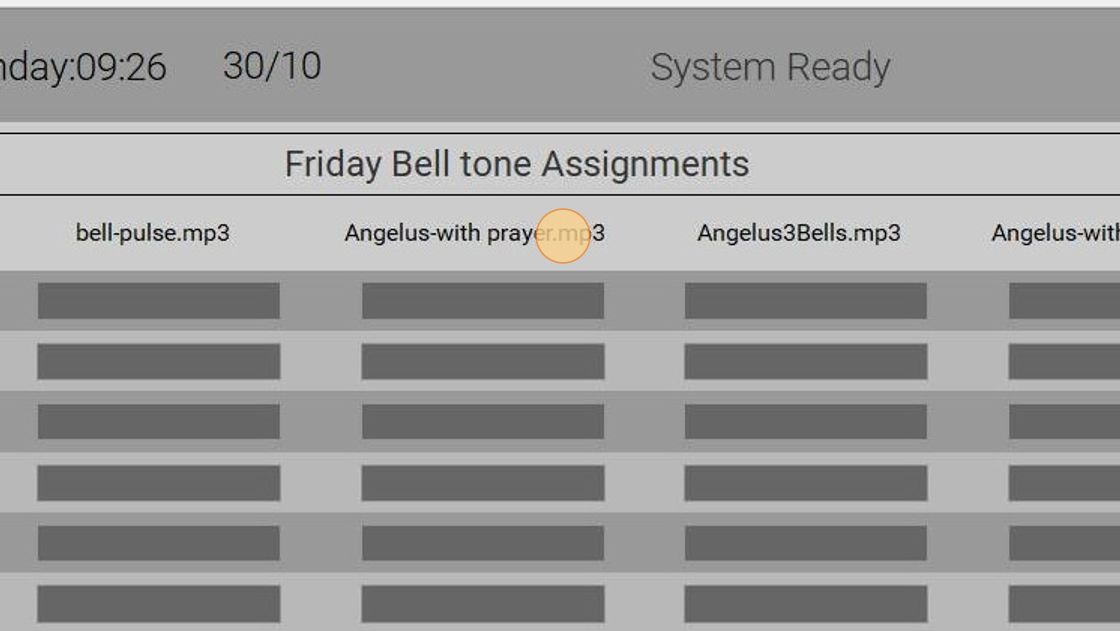
9. On the bottom of the "Bell Tone Assign" Page, you can see each weekday available for selection

10. For each weekday, you can see the five previously selected bell tones, along with 14 time functions. In the example below, every single bell time is assigned to "bell.mp3"
11. Head back to your "Bell Schedule" page. You'll see each bell time has a number associated. In this example, we wish to play a special bell at 12:00 for the school prayer. We can see this is "Time 5"

12. To assign the prayer file to each day at 12:00, we just need to select each day, and ensure "Time 5" is assigned to the correct Bell Tone .mp3 file

13. Say for example we would like the 14:07 bell to play a different tone, like a warning bell.
Head back to the Bell Schedule page, take note that the 14:07 Bell is Bell Time 7.
Head back to the Bell Tone Assign page and change "Time 7" each day, to your desired Bell Tone. In the example below, we're changing it to "Bell Tone 2" or "Bell-pulse.mp3"

Was this article helpful?
That’s Great!
Thank you for your feedback
Sorry! We couldn't be helpful
Thank you for your feedback
Feedback sent
We appreciate your effort and will try to fix the article

